Follow Me On Social Media!
Shaving Cream Dyed Easter Eggs: Vibrant Fun for Everyone
Introduction to Shaving Cream Dyed Easter Eggs
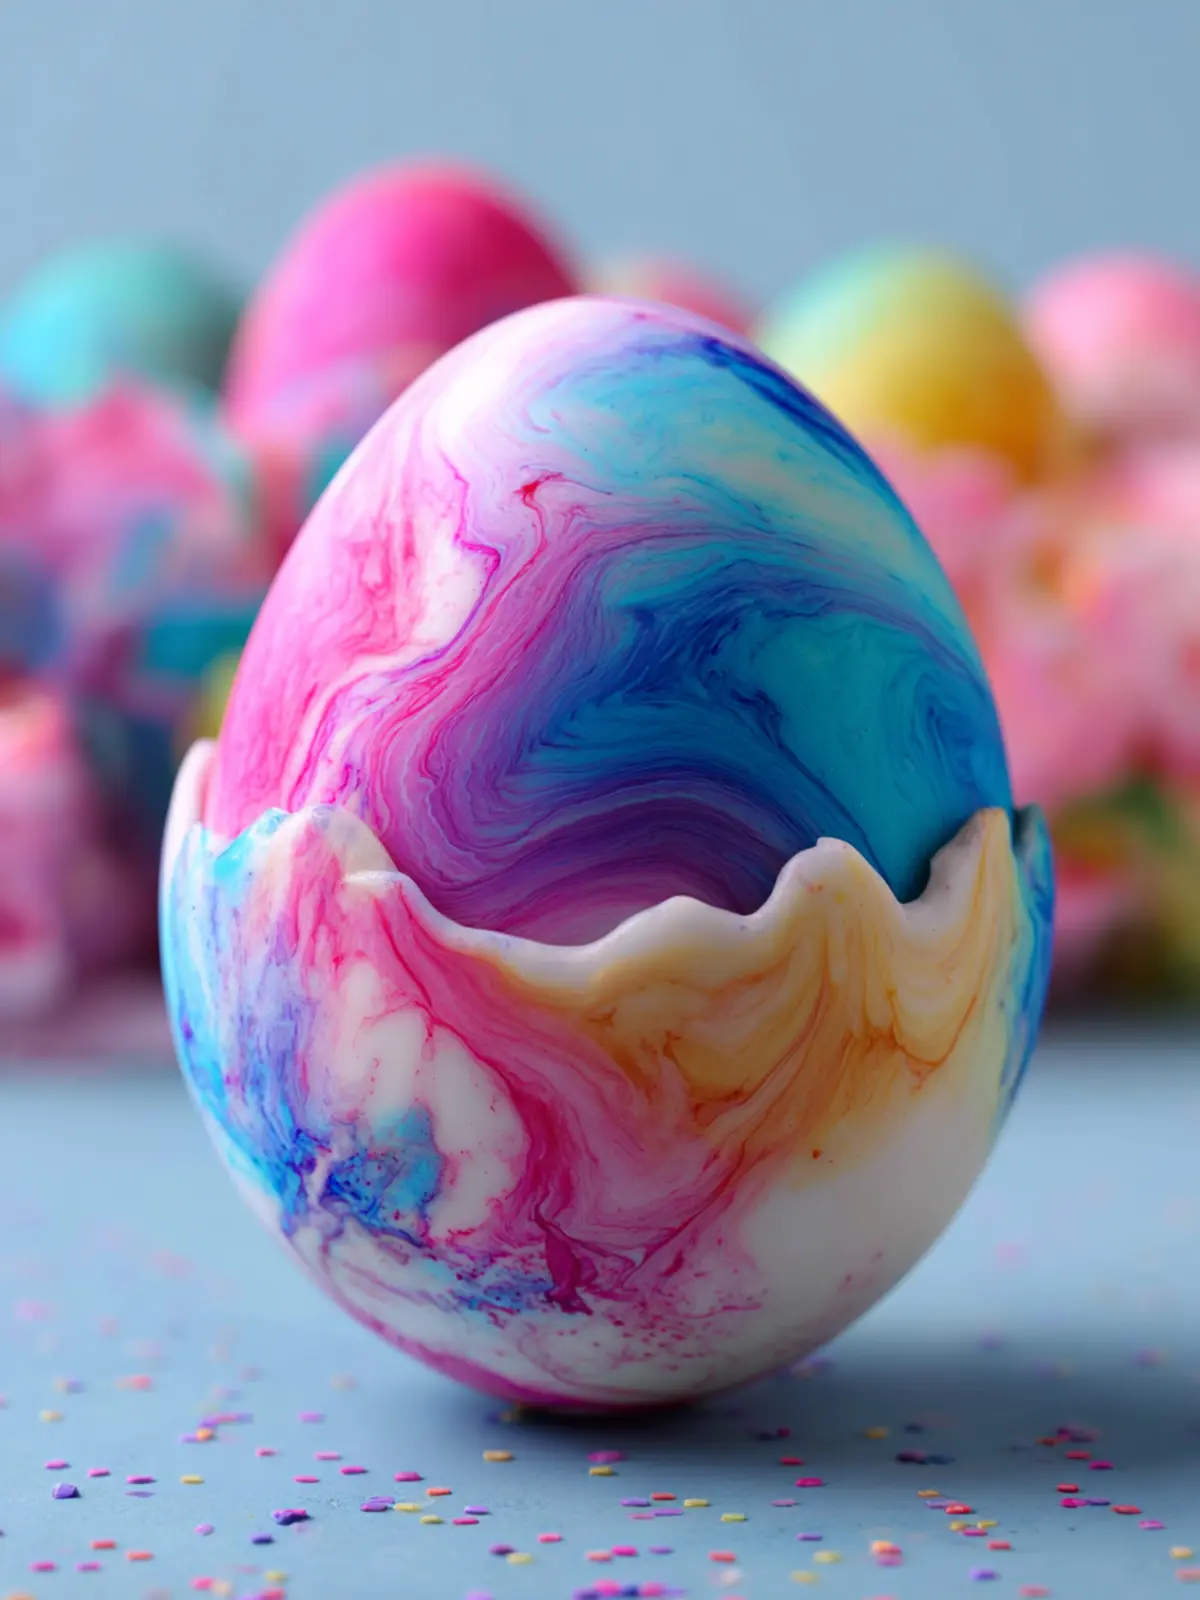
Shaving cream dyed Easter eggs have quickly become a cherished alternative to traditional egg-dyeing methods, adding a unique twist to a beloved springtime tradition. Imagine a vibrant spectrum of colors swirling together, creating a mesmerizing tie-dye effect that brightens any Easter celebration! This method offers not only visually stunning results but also a sensory experience as the creamy texture and delightful scents add to the fun of crafting these colorful decorations.
The process is delightfully simple, yet the results are breathtaking. You don’t need to be an experienced crafter or artist to achieve stunning designs. This technique is so accessible that even your little ones can join in with glee—just watch their eyes light up as they dip the hard-boiled eggs into the fluffy concoction.
Not only are shaving cream dyed Easter eggs visually appealing, but they also encourage creativity. You can experiment with various colors, patterns, and techniques, making each egg a true work of art. Plus, using shaving cream provides a lovely soft texture that makes it easy to manipulate colors and create unique designs.
The fun doesn’t have to end with Easter; these eggs can serve as beautiful spring decorations around your home. You can turn your creative session into a special tradition, gathering friends and family to share in the joy of crafting together. This method also embraces sustainability, as you can opt for natural dyes derived from fruits and vegetables, enhancing your eggs’ beauty while minimizing waste.
So roll up your sleeves and prepare for a delightful crafting experience that adds vigor and creativity to your Easter festivities. Dive into the colorful world of shaving cream dyed Easter eggs, where the only limit is your imagination, and the vibrancy of your creations will surely light up your celebrations!
Key Ingredients for Shaving Cream Dyed Easter Eggs
Creating shaving cream dyed Easter eggs is an innovative way to add a burst of color and creativity to your holiday celebrations. The beauty of this method lies in a few simple yet essential ingredients that transform an ordinary egg into a vibrant masterpiece.
-
Shaving Cream: The star of the show! Opt for a foamy, white shaving cream as it provides a perfect base for the colors to swirl and blend. Avoid gel formulations—foams adhere better and create a marbled effect that’s visually stunning.
-
Food Coloring: Bright liquid food coloring is ideal for this technique. You can mix different colors to achieve custom shades, allowing you to experiment and create unique patterns on each egg.
-
White Eggs: Using white eggs ensures that the colors stand out vividly against the shell. Brown eggs may not yield the same bright results, so stick with white for the best impact.
-
Paper Towels: Keep some handy for cleanup! After your eggs dry, you can gently blot them to remove any excess cream, revealing the vibrant colors underneath.
Embrace the fun and get creative with your shaving cream dyed Easter eggs this season!
Why You’ll Love This Recipe
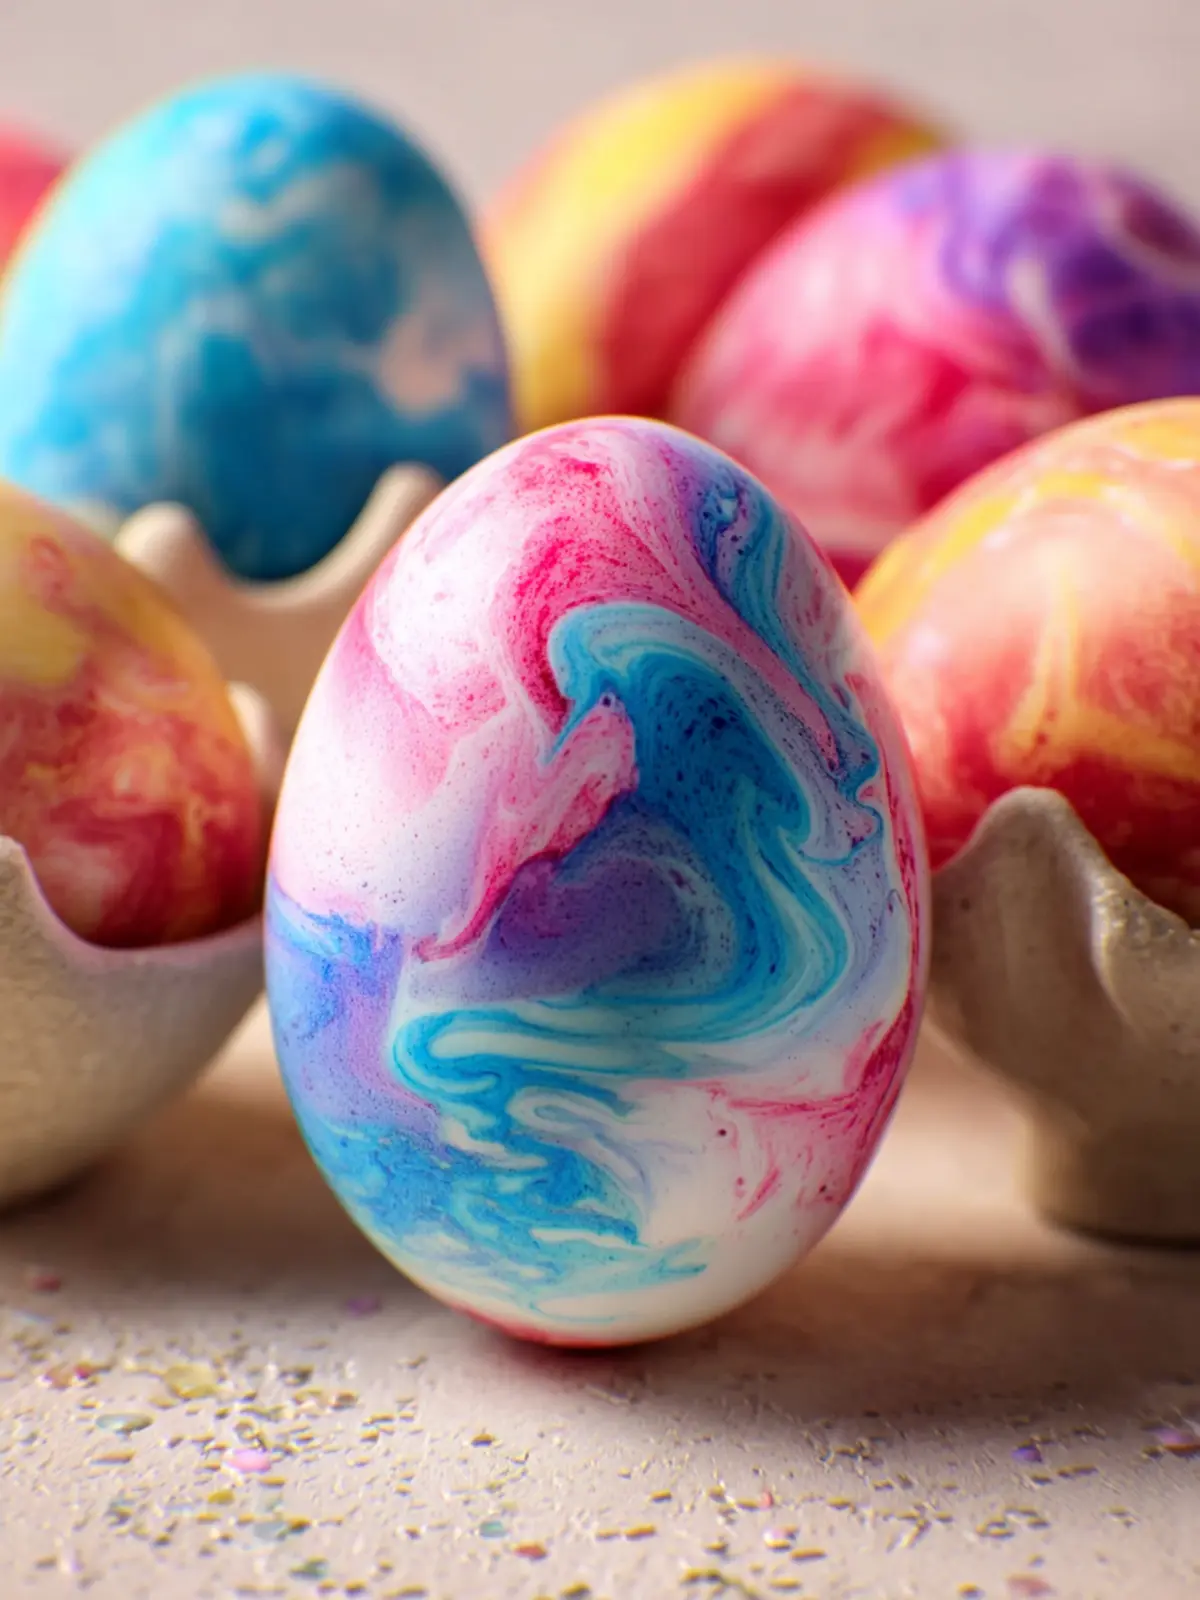
Shaving cream dyed Easter eggs offer a magical twist to a classic family tradition. Imagine the delight of your loved ones as they discover beautifully marbled eggs that look like they came straight from an artist’s palette! Not only is this process enjoyable, but it also fosters creativity and collaboration. Gather your friends or family for an afternoon of fun, and transform the mundane task of egg decorating into an unforgettable experience.
One of the best aspects of this recipe is its simplicity. You’ll find it easy to gather the ingredients—just shaving cream, food coloring, and hard-boiled eggs—which are usually lying around your house. Plus, it’s a great way to engage kids in a safe, vibrant art project before the Easter festivities begin!
The swirling colors look stunning, but what’s even better is that clean-up is a breeze—unlike traditional dyeing methods, you won’t have to worry about messy spills or stains. This is the perfect opportunity to create lasting family memories while producing eye-catching decorations that you can proudly display or gift to friends. Trust me; once you try shaving cream dyed Easter eggs, you’ll want to make it a yearly tradition!
Variations on Shaving Cream Dyed Easter Eggs
Shaving cream dyed Easter eggs are a delightful way to add a splash of creativity to your Easter celebration. If you’re looking to elevate your egg dyeing game beyond traditional methods, there are plenty of exciting variations to try.
Flavorful Additions
- Food Coloring Essentials: Experiment with different brands or types of food coloring. Gel food coloring tends to produce more vibrant hues than liquid dye.
- Essences: While not for consumption, adding a few drops of essential oils like vanilla or lemon can introduce a pleasant scent to your dyeing process, making it more enjoyable.
Unique Patterns
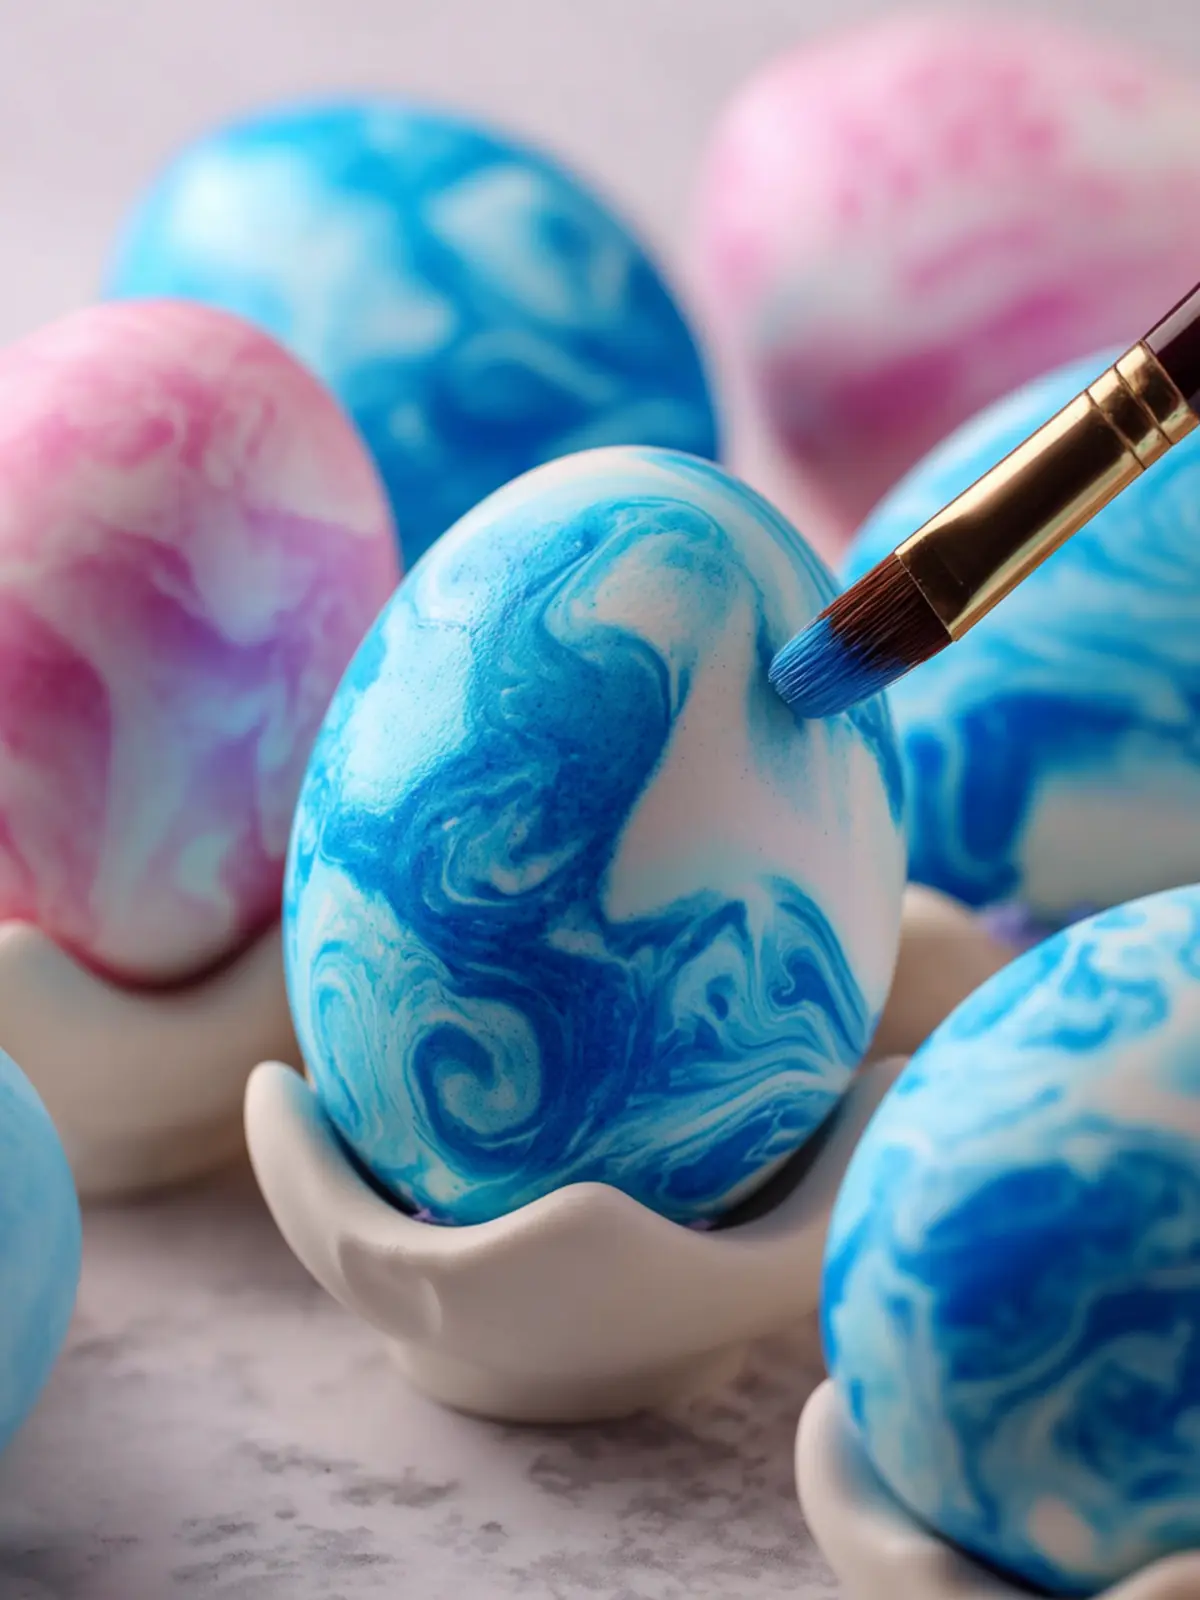
- Swirling Techniques: Instead of simply mixing the colors, try using a skewer or toothpick to swirl them into interesting patterns. Each egg can become a mini work of art!
- Layering Dyes: Dip the eggs into one color first, allow to dry, then dip into another. This technique can create stunning graduated effects.
Integrating these variations into your shaving cream dyed Easter eggs process not only enhances the visual appeal, but also makes the activity more engaging for family and friends. Happy dyeing!
Cooking Tips and Notes for Shaving Cream Dyed Easter Eggs
Crafting shaving cream dyed Easter eggs is not just a fun activity; it’s also a creative art form. As you dive into this unique dyeing method, here are some valuable tips to enhance your experience:
Choosing the Right Shaving Cream
The type of shaving cream you use can significantly impact the vibrancy of your colors. Look for rich, foamy products that don’t contain added moisturizers. Since we’re working with vibrant food coloring, a standard cream yields the best results.
Egg Preparation
Ensure your eggs are clean and dry before starting. A simple rinse can remove any residue that might hinder dye adherence. Opt for white eggs to allow the colors to pop. Brown eggs can create muddy hues, so keep them in the fridge for breakfast instead.
Color Mixing
Feel free to experiment with different food colorings to create custom shades. Mixing colors can yield stunning results, allowing your creativity to shine through. Just remember, less is more; start with a few drops and increase gradually as needed.
Allow for Drying Time
Patience is key! After dyeing, let your eggs dry completely on a paper towel or egg carton. This step ensures that the colors set properly and prevents smudging when handled.
Embrace the mess and enjoy the process; the beauty of shaving cream dyed Easter eggs lies not only in the final product but also in the joy of creating them. Happy dyeing!
Serving Suggestions for Shaving Cream Dyed Easter Eggs
Easter is a time for creativity, and your shaving cream dyed Easter eggs are not just a treat for the eyes—they can also be a delightful addition to your holiday celebrations. Here are some fun serving ideas:
-
Decorative Centerpiece: Arrange your dyed eggs in a shallow bowl or glass dish, surrounded by fresh flowers or greenery. This adds flair to your dining table and showcases your creative talent.
-
Egg Hunt Fun: Hide these beautifully dyed eggs around your home or yard for an exciting Easter egg hunt. The vibrant colors will be a hit with kids and adults alike.
-
Gift Treats: Wrap a few eggs in pastel-colored tissue paper or place them in small gift boxes as cute, personalized Easter gifts for friends and family.
By combining visual appeal and festive fun, you can make the most of your shaving cream dyed Easter eggs. What unique ideas do you have?
Time Breakdown for Shaving Cream Dyed Easter Eggs
Creating beautiful shaving cream dyed Easter eggs is not only a delightful craft but also a fun way to celebrate the season. Understanding the time you’ll spend on each step can help you plan a perfect activity with friends or family.
Preparation Time
To kick things off, gathering your materials will only take about 10-15 minutes. You’ll need shaving cream, food coloring, a baking sheet, and, of course, your hard-boiled eggs. This part is exciting as you can choose your color palette!
Dyeing Time
Once your workspace is ready, the actual dyeing process takes about 30 minutes. This includes swirling the colors into the shaving cream and letting your eggs sit and soak up the vibrant hues. Patience is key here; the swirls create beautiful, marbled effects!
Total Time
In total, expect to spend about 45-60 minutes from preparation to the final reveal of your shaving cream dyed Easter eggs. This short crafting experience promises to be rewarding, and you’ll have stunning eggs to display!
Nutritional Facts for Shaving Cream Dyed Easter Eggs
Creating shaving cream dyed Easter eggs is not just about the vibrant colors and fun techniques; it also introduces some curious nutritional insights. Let’s explore the numbers linked to this delightful activity!
Calories
One egg dyed using shaving cream generally contains around 70 calories. This primarily comes from the egg itself—rich in nutrients and a great source of protein.
Protein
Each shaving cream dyed Easter egg offers about 6 grams of high-quality protein. Eggs are well-regarded for their protein content, which is essential for muscle maintenance and overall health.
Sodium
These beautifully dyed eggs contain approximately 70 milligrams of sodium. While they are not significantly salty, be mindful of how you use them in meals, especially if you have sodium restrictions.
This information makes it clear that while decorating eggs is a festive treat, it’s also a worthwhile addition to your balanced diet! Enjoy the creative process as much as the delicious outcome.
FAQ about Shaving Cream Dyed Easter Eggs
Creating shaving cream dyed Easter eggs is a fun and colorful tradition that many people adore. However, you might have a few questions before you dive in. Let’s tackle some of the most common queries that pop up.
Can I use other types of dye?
Absolutely! While the shaving cream dyed Easter eggs method shines with food coloring or gel dyes, you can experiment with other types as well. Think about using natural dyes from fruits or vegetables, like beet juice for a vibrant pink or turmeric for a sunny yellow. Just remember that using different types of dye might yield different results, and it can be helpful to test a few eggs first!
How do I store dyed eggs?
After you’ve transformed your eggs into beautiful works of art, storing them properly is crucial. If you’re displaying them, keep them in a cool, dry location to avoid spoiling. If you’re planning to eat them, make sure to refrigerate any shaving cream dyed Easter eggs that you’ll enjoy later. Store them in an airtight container to keep them fresh for up to a week. Remember to enjoy your creations within that time for the best flavor and safety!
What if I don’t have shaving cream?
In a pinch, you can substitute whipped cream or even a thick layer of yogurt for creating vibrant designs on your eggs. The key is to have a creamy base that allows the dye to swirl and set. Just ensure that whatever you use is not overly runny, or it won’t create the beautiful patterns you’re aiming for. Getting creative can lead to unique and delightful results!
By addressing these frequently asked questions, you’re well-equipped to make your shaving cream dyed Easter eggs a memorable and colorful part of your celebrations. Happy dyeing!
Conclusion on Shaving Cream Dyed Easter Eggs
In wrapping up our delightful journey of creating shaving cream dyed Easter eggs, it’s clear that this creative twist on an age-old tradition offers not only stunning aesthetics but also a fun, hands-on experience for everyone involved. Experimenting with colors and patterns while using standard ingredients like food coloring and shaving cream helps to spark creativity, turning a simple activity into a memorable occasion. Plus, the unique swirls you achieve will certainly impress family and friends alike! So gather your supplies, bring the kids along, and have a blast making your very own masterpieces this Easter.
Print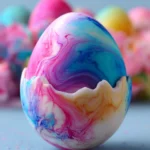
Dyeing Hard-Boiled Eggs
- Total Time: 15 minutes
- Yield: 12 eggs 1x
Description
A fun and creative way to dye hard-boiled eggs using shaving cream and food dye.
Ingredients
Scale
- 1 container hard-boiled eggs
- 1 can shaving cream
- 1 cup white distilled vinegar
- 2 drops water-based liquid food dye
Instructions
- Prepare Eggs: Soak boiled eggs in vinegar for 10 minutes, then remove, pat dry, and let fully dry.
- Set Up Dye: Fill each muffin tin section with shaving cream. Add 2 drops of liquid dye (or 1 drop of gel dye) per section. Swirl with a toothpick.
- Dye Eggs: Wearing gloves, roll eggs in the shaving cream until fully covered. Let sit for 10-15 minutes.
- Rinse & Dry: Gently rinse without rubbing and place on paper towels to dry.
Notes
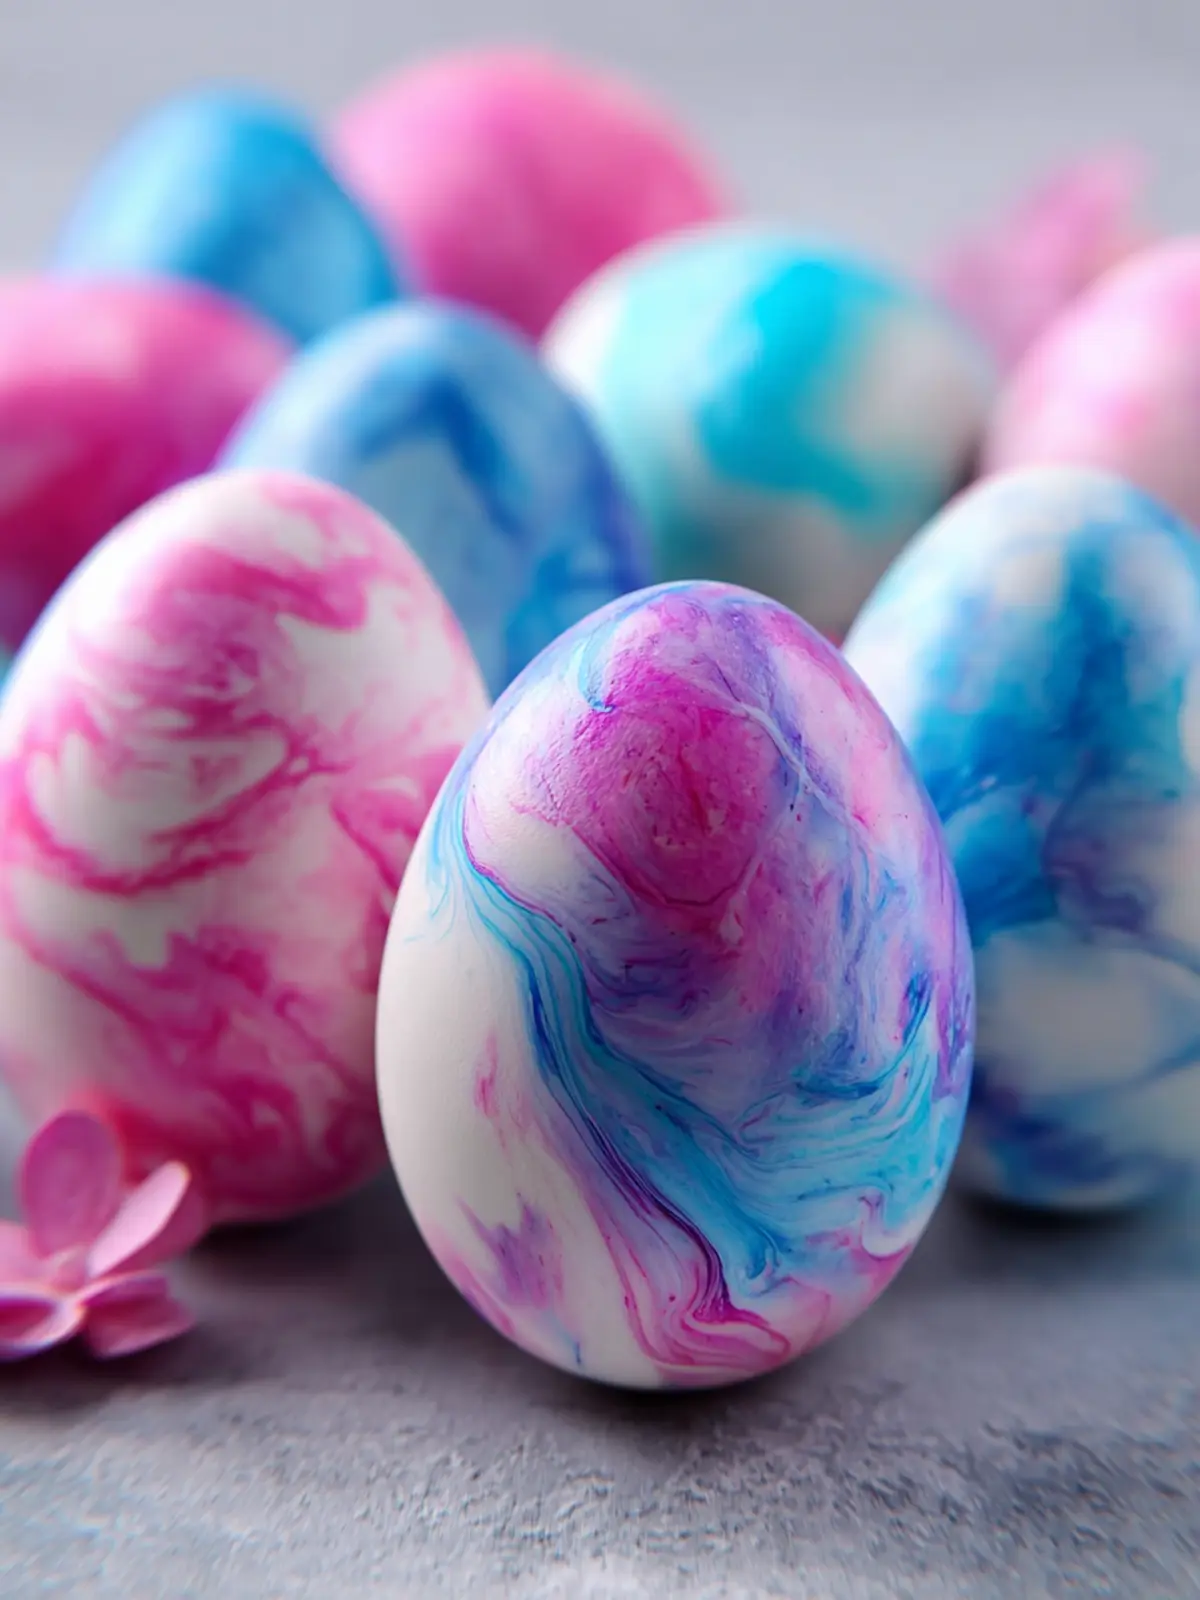
- This method creates beautiful marbled effects on the eggs.
- Ensure to wear gloves to prevent staining your hands.
- Experiment with different colors for more vibrant designs.
- Prep Time: 15 minutes
- Cook Time: 0 minutes
- Category: Crafts
- Method: No cooking
- Cuisine: American
Nutrition
- Serving Size: 1 egg