Follow Me On Social Media!

Strawberry Jelly Bliss: Your Easy, Homemade Sweet Escape
Introduction to Strawberry Jelly
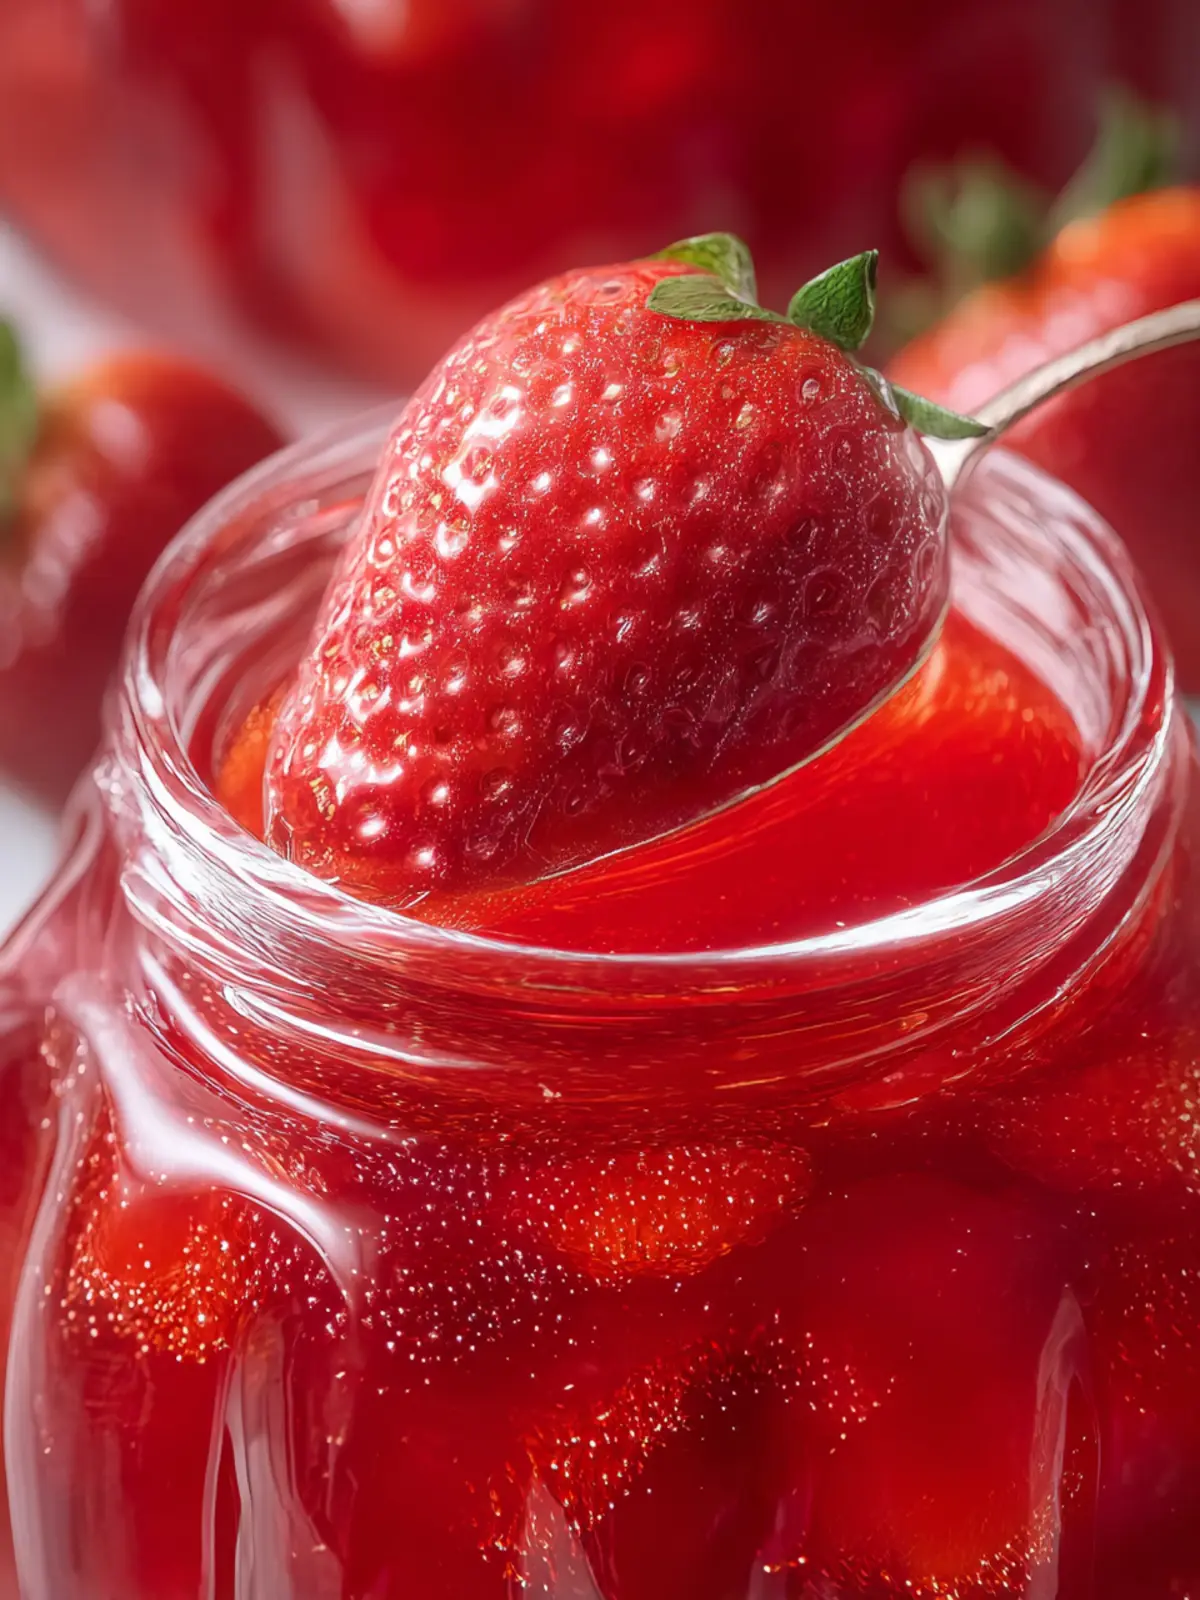
Strawberry jelly is more than just a sweet spread; it’s a nostalgic treat that takes you back to sunny picnics and homemade breakfasts. Imagine spreading a layer of fresh strawberry jelly over warm toast, the aroma wafting through the air as you take the first delightful bite. This beloved preserve not only showcases strawberries’ natural sweetness but also offers a delightful burst of flavor that store-bought options can rarely match.
What makes homemade strawberry jelly so appealing? For starters, you gain complete control over the ingredients. There’s something uniquely satisfying about using ripe, fresh strawberries sourced from your local farmer’s market or even your own garden. You know exactly what goes into your jelly, from the fruit to the sugar to the pectin. Plus, the experience of watching fruit transform into a luscious spread is almost magical!
Perhaps what keeps many of us reaching for a jar of strawberry jelly is its versatility. It can elevate everything from simple breakfast pancakes to gourmet desserts. Want to make a classic PB&J? A dollop of your homemade jelly can add an artisanal touch. Have some friends over for brunch? Use it as a filling for pastries or an accompaniment for cheese boards. The possibilities are endless!
Moreover, making strawberry jelly allows for creativity. You can experiment with different ratios of sugar or even blend in other berries to create unique flavors. The process itself can be a bonding experience; imagine gathering friends or family in the kitchen, laughing and sharing stories as you cook together.
With its vibrant color and rich taste, homemade strawberry jelly is the perfect balance of indulgence and nostalgia. It invites you to savor the sweetness of life, making every meal a little brighter and more memorable. So, roll up your sleeves and get ready to dive into the delightful world of jelly-making!

Key Ingredients for Strawberry Jelly
Strawberries: The star of our strawberry jelly is, of course, the strawberries themselves. Fresh, ripe strawberries bring a sweetness and vibrant flavor that make all the difference. I recommend picking your strawberries when they’re in season to ensure they’re bursting with sweetness. If the local produce isn’t available, frozen strawberries can also work beautifully in a pinch!
Sugar: The sugar in this recipe does more than just sweeten; it also helps to preserve the jelly. Granulated sugar is the way to go, as it dissolves easily and balances the tartness of the strawberries. Be mindful of the quantity, as adding too much can overpower the natural flavors.
Lemon Juice: A splash of fresh lemon juice is essential. It adds a zing that brightens the flavor and also helps the jelly set. I find that just the right amount enhances the fruitiness without being too tart.
Sure Jell: This pectin product acts as the secret ingredient to achieve that classic jelly consistency. Follow the package instructions closely for the best results. It’s crucial for giving our strawberry jelly its perfect spreadable texture!
Why You’ll Love This Strawberry Jelly
Imagine spreading a generous spoonful of strawberry jelly on your morning toast, where the sweet and slightly tart flavor dances on your taste buds, transforming a simple breakfast into a delightful experience. This homemade strawberry jelly captures the essence of fresh strawberries, allowing you to savor the taste of summer all year long. Whether you’re preparing a cozy brunch for friends or looking to elevate your PB&J sandwiches, this jelly is sure to impress.
Quality Ingredients Shine Through
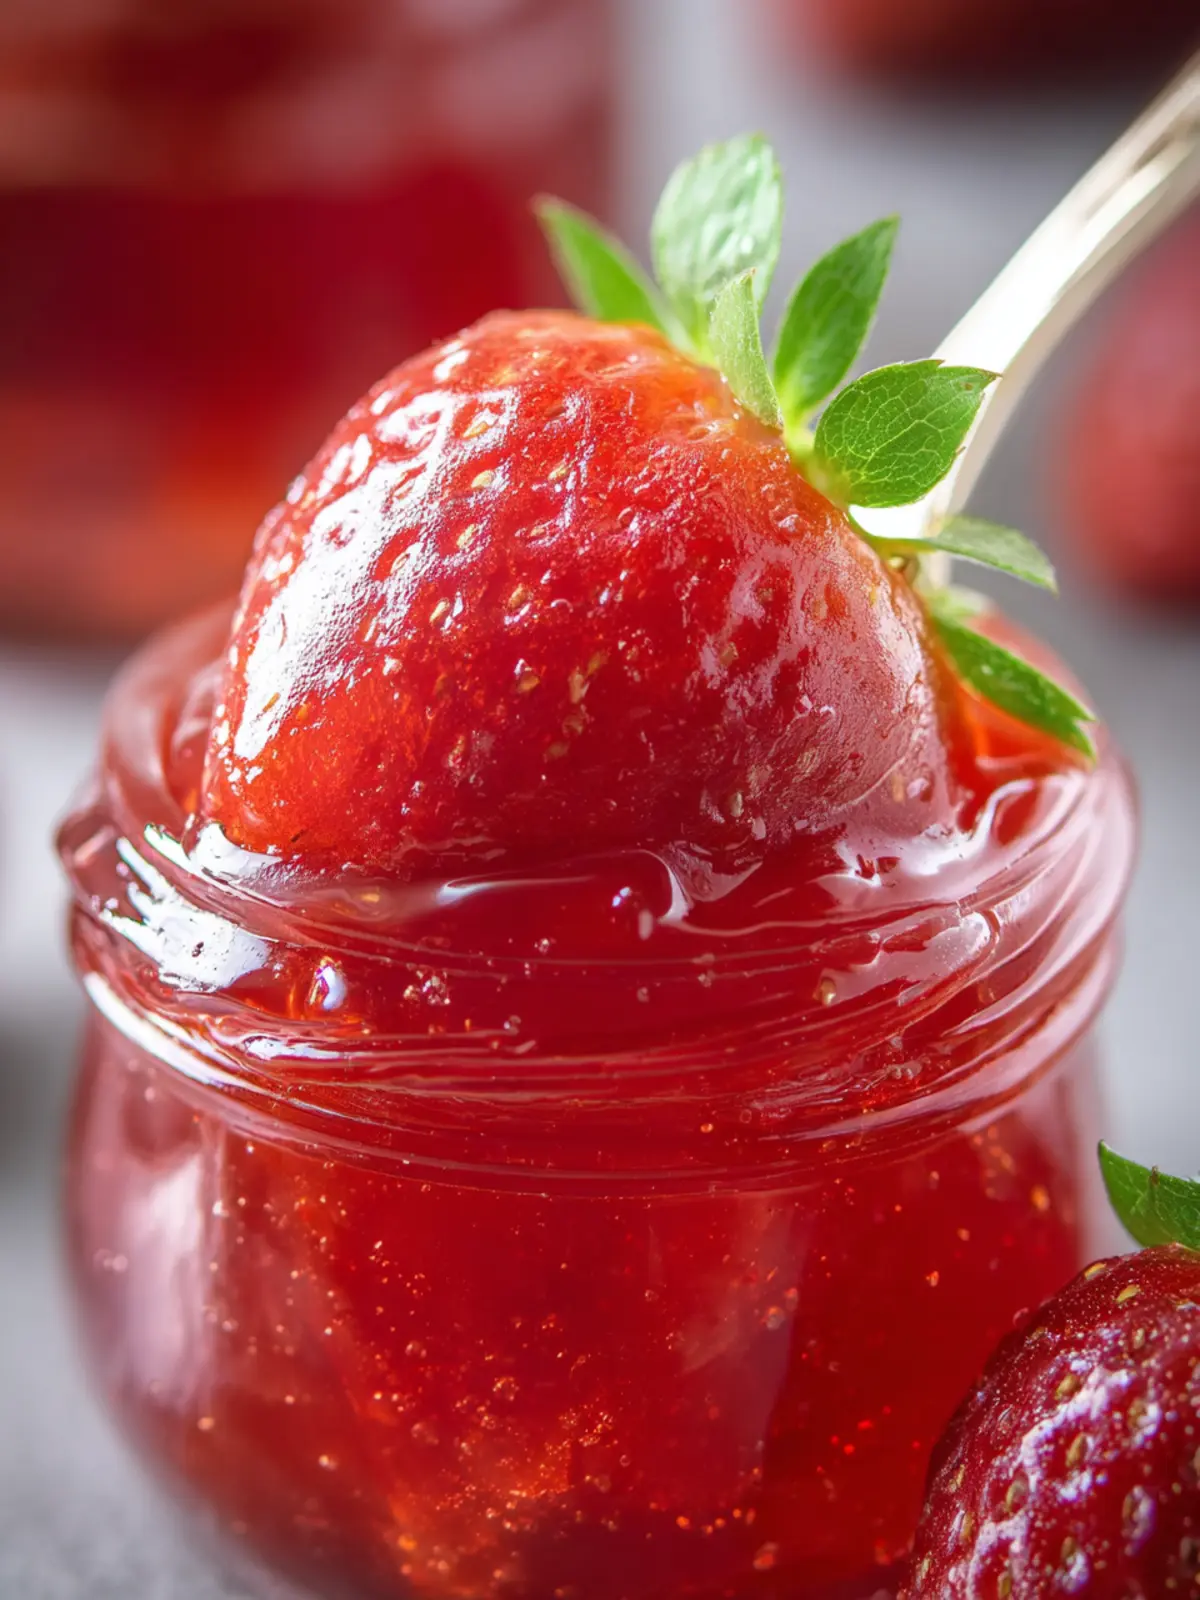
The secret to this delectable strawberry jelly lies in the quality of its ingredients. By using ripe, juicy strawberries, you ensure every jar bursts with natural sweetness and vibrant color. Pair it with just the right amount of sugar to balance the tanginess, and you’ve got a spread that’s both refreshing and satisfying.
Simple and Fun to Make
Making this jelly isn’t just about the end product; it’s about the joyful process. The beautiful bright red strawberries simmering on the stove fill your kitchen with a comforting aroma that’s hard to beat. Plus, it’s a fantastic way to get your friends or family involved, as everyone can help hull, mash, and taste!
Endless Versatility
Once you’ve made your strawberry jelly, the possibilities are endless. Use it as a topping for cheesecakes, an ingredient in marinades, or simply enjoy it straight from the jar. Its vibrant flavor will add an extra layer of goodness to your meals and snacks, making it a beloved staple in your kitchen.
By choosing homemade strawberry jelly, you’re not just preparing a treat; you’re creating memories to savor.
Tips for Making Perfect Strawberry Jelly
Crafting strawberry jelly at home can feel like a culinary adventure, especially with the vibrant hues and delightful aromas that fill your kitchen. Here are some handy tips to ensure your jelly turns out perfectly every time.
Choose the Right Strawberries
Opt for ripe, fresh strawberries to extract the best flavors for your strawberry jelly. Select berries that are firm, fragrant, and have a deep red color. If you can’t get fresh locally, look for organic frozen strawberries as a good alternative.
Prep Your Ingredients
Before you dive into cooking, wash and hull your strawberries. A great hack? Give them a gentle rinse and let them dry. This prevents excess water from affecting your jelly’s consistency.
Keep It Chill
For an ideal gel, make sure your utensils and jars are pre-chilled. It may sound simple, but chilling your jars helps the jelly set more effectively.
Sugar Matters
When measuring sugar, use exact amounts. Too little won’t allow the jelly to set properly, while too much can create an overly sweet outcome. Remember, the right sugar balance is the key to flavor and consistency in your strawberry jelly.
Patience is Key
Lastly, don’t rush the cooking process. Allow the mixture to reach a rolling boil and keep it there for the recommended time. This ensures your jelly sets beautifully, giving you that luscious texture everyone loves.
Implementing these tips will turn your strawberry jelly into a sweet success, perfect for spreading on toast or layering in desserts. Enjoy the process—your taste buds will thank you!
Cooking Time Breakdown for Strawberry Jelly
Creating delicious strawberry jelly at home not only brings a sense of accomplishment but also allows you to savor the fresh flavors of summer all year round. Here’s how the time breaks down for making this delightful treat:
Preparation Time
The preparation time for strawberry jelly is about 20 minutes. This includes washing, hulling, and slicing the strawberries, as well as measuring out your ingredients.
Cooking Time
Once you’re prepped, the actual cooking time takes around 30 to 40 minutes. This involves combining the strawberries with sugar and pectin, bringing the mixture to a boil, and ensuring it reaches the right consistency.
Total Time
In total, you’ll spend about 60 minutes from start to finish. With a little patience and care, you’ll soon be rewarded with a luscious strawberry jelly that’s perfect for spreading on toast or dolloping on desserts. Enjoy!
Nutritional Information for Strawberry Jelly
Understanding the nutritional information for strawberry jelly can help you enjoy this delightful spread guilt-free. Strawberry jelly not only adds a burst of flavor to your breakfast but also comes with its own set of nutritional qualities.
Calories
One tablespoon of strawberry jelly typically contains around 50 calories. This makes it a sweet addition to your breakfast without adding too many calories to your day.
Sugar Content
The sugar content in strawberry jelly is significant, with about 13 grams of sugar per tablespoon. If you’re watching your sugar intake, be mindful of how much you spread on your toast.
Serving Size
A standard serving size of strawberry jelly is usually one tablespoon. It’s easy to keep track of how much you’re enjoying while still indulging in that rich strawberry flavor.
By keeping these nutritional aspects in mind, you can enjoy your strawberry jelly as part of a balanced diet!
FAQs About Strawberry Jelly
Making strawberry jelly can evoke memories of sun-kissed summers and family breakfasts, but it’s not uncommon to have a few questions along the way. Let’s clear up some common queries to ensure your jelly-making journey is smooth and delicious!
Can I use frozen strawberries for this recipe?
Absolutely! Frozen strawberries are a fantastic alternative to fresh berries. They’re often picked at peak ripeness and flash frozen, preserving their sweet flavor. Just be sure to thaw them and drain any excess liquid before using them in your strawberry jelly recipe. This will help maintain the right texture and consistency.
Why does my jelly not set?
If your jelly doesn’t set, it can be frustrating! Several factors might be at play. One common issue is not using enough pectin, which helps the jelly firm up. Another possibility is cooking it at too low a temperature or not boiling for long enough. Ensuring you follow the cooking times and measurements precisely can be crucial for a successful outcome.
How long can I store homemade jelly?
Once your strawberry jelly is jarred and sealed properly, it can last for up to a year when stored in a cool, dark place. After opening, however, it’s best to keep it refrigerated, where it should stay fresh for about a month. Just make sure to always use a clean spoon to avoid contamination!
Remember, each batch is a little different, and part of the joy of making your own strawberry jelly is learning from each experience. Happy jelly-making!
Conclusion on Strawberry Jelly
Making strawberry jelly is more than just a culinary endeavor; it’s a sweet embrace of nostalgia and creation. By following our step-by-step guide, you’ll not only master the art of jelly-making but also savor the satisfaction of transforming fresh strawberries into a delightful spread that can elevate breakfast or a midday snack.
As you enjoy your homemade jelly, consider how versatile it is—perfect for pairing with toast, desserts, or even as a topping for your favorite yogurt. Homemade strawberry jelly isn’t just a recipe; it’s an experience, a memory in the making, and a perfect addition to your kitchen arsenal. Indulge in every spoonful and share the joy it brings to your table!
Print
Strawberry Jelly
- Total Time: 25 minutes
- Yield: 4 cups 1x
- Diet: Vegetarian
Description
A delicious homemade strawberry jelly made with fresh strawberries and just a few simple ingredients.
Ingredients
Scale
- 3 pounds strawberries
- 2 1/2 cups granulated sugar
- 1 Tablespoon lemon juice
- 1 box Sure Jell
Instructions
- Start by washing your strawberries and removing the stems. You don’t need to chop them, just leave them whole. But if there are any bad spots, you can remove those.
- Add the berries to a food processor or blender and puree until smooth and liquid.
- Pour the strawberry juice through a strainer. Press the mixture through, so you have mainly just juice below. The less seeds and pulp you get through the strainer the smoother and clearer your jelly will be. You will end up with about 4 cups of juice.
- Add the fruit juice, sugar, lemon juice, and pectin to a heavy bottom pot. Cook over medium heat until the sugar is dissolved. The pectin can clump when it is cold, so you might need to whisk it to get it fully incorporated and smooth. Once the sugar is dissolved bring to a boil over medium-high heat, and cook for 3 minutes, stirring frequently.
- While the jelly is boiling use a small strainer to scoop away the foam that forms on the top. This step is optional, but it will lead to a clearer jelly.
- After 3 minutes, reduce the heat to medium low and let it cook for about 5 more minutes. If you have a thermometer you can test and it should be about 220º F, this is when you know your jelly is done and will set up.
- Remove from the heat and let it cool in the pot for 5 minutes.
- After 5 minutes divide the jelly into your jars and let it cool completely for the jelly to set up.
Notes
- Ensure to strain the juice well for a smoother jelly.
- Store in sterilized jars for optimal freshness.
- Prep Time: 15 minutes
- Cook Time: 10 minutes
- Category: Condiments
- Method: Boiling
- Cuisine: American
Nutrition
- Serving Size: 1 tablespoon
- Calories: 50
- Sugar: 12g
- Sodium: 0mg
- Fat: 0g
- Saturated Fat: 0g
- Unsaturated Fat: 0g
- Trans Fat: 0g
- Carbohydrates: 13g
- Fiber: 0g
- Protein: 0g
- Cholesterol: 0mg